Is your wine fridge gathering dust? Or do you simply want to repurpose it to store your favourite beer? The good news is, you don’t need to buy a whole new appliance. You can convert your wine fridge shelves to make a beer fridge and store your beer bottles or cans comfortably.
Let’s explore how. Read on for everything you need to know about converting a wine fridge to a beer fridge.
Can You Use a Wine Fridge for Beer?
Yes, you absolutely can use your wine fridge for storing beer. In fact, many wine coolers can store beer just as well as a wine fridge, if you make the right adjustments.
Both wine and beer require consistent, cool temperatures and controlled humidity for optimal storage. However, beer is usually served colder than wine, which means you’ll need to tweak the settings slightly.
Wine Fridge vs Beer Fridge
|
Feature |
Wine Fridge |
Beer Fridge |
|
Temperature Range |
5°C – 18°C |
3°C – 10°C |
|
Ideal Use |
Storing red, white, and sparkling wines |
Storing beer bottles and cans |
|
Cooling Type |
Often thermoelectric (gentle cooling) |
Usually compressor-based (colder, faster cooling) |
|
Shelf Design |
Curved racks for wine bottles |
Flat shelves for cans or bottles |
|
Humidity Control |
Maintains higher humidity to protect corks |
Lower humidity to keep cans/bottles dry |
|
Storage Layout |
Horizontal storage for long-neck bottles |
Upright or stacked storage |
For more, check out our guide on the difference between wine coolers and mini fridges.
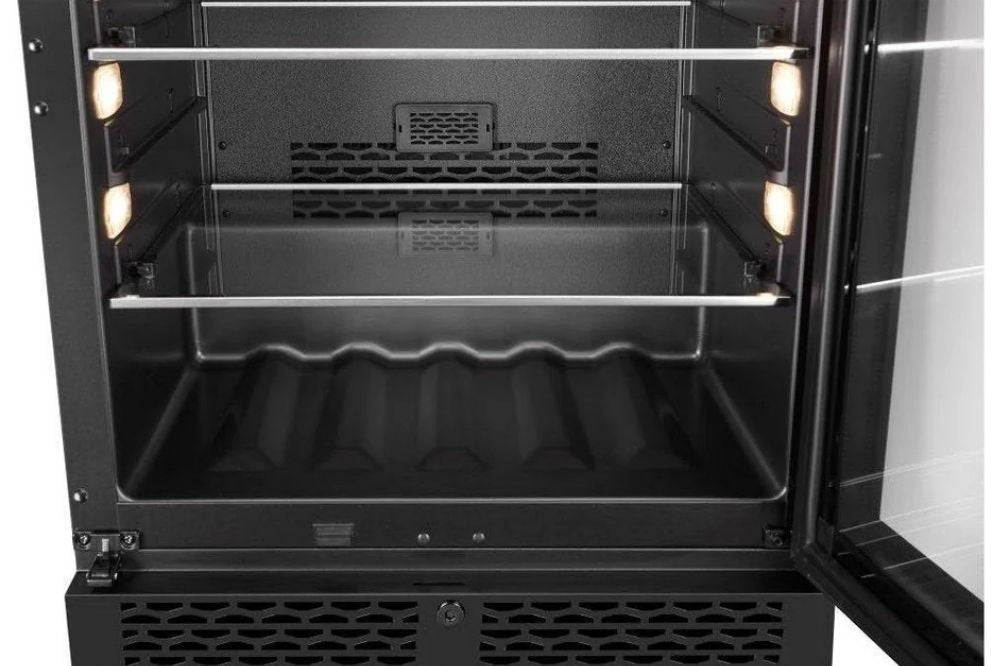
Step 1 – Adjust or Remove the Wine Shelves
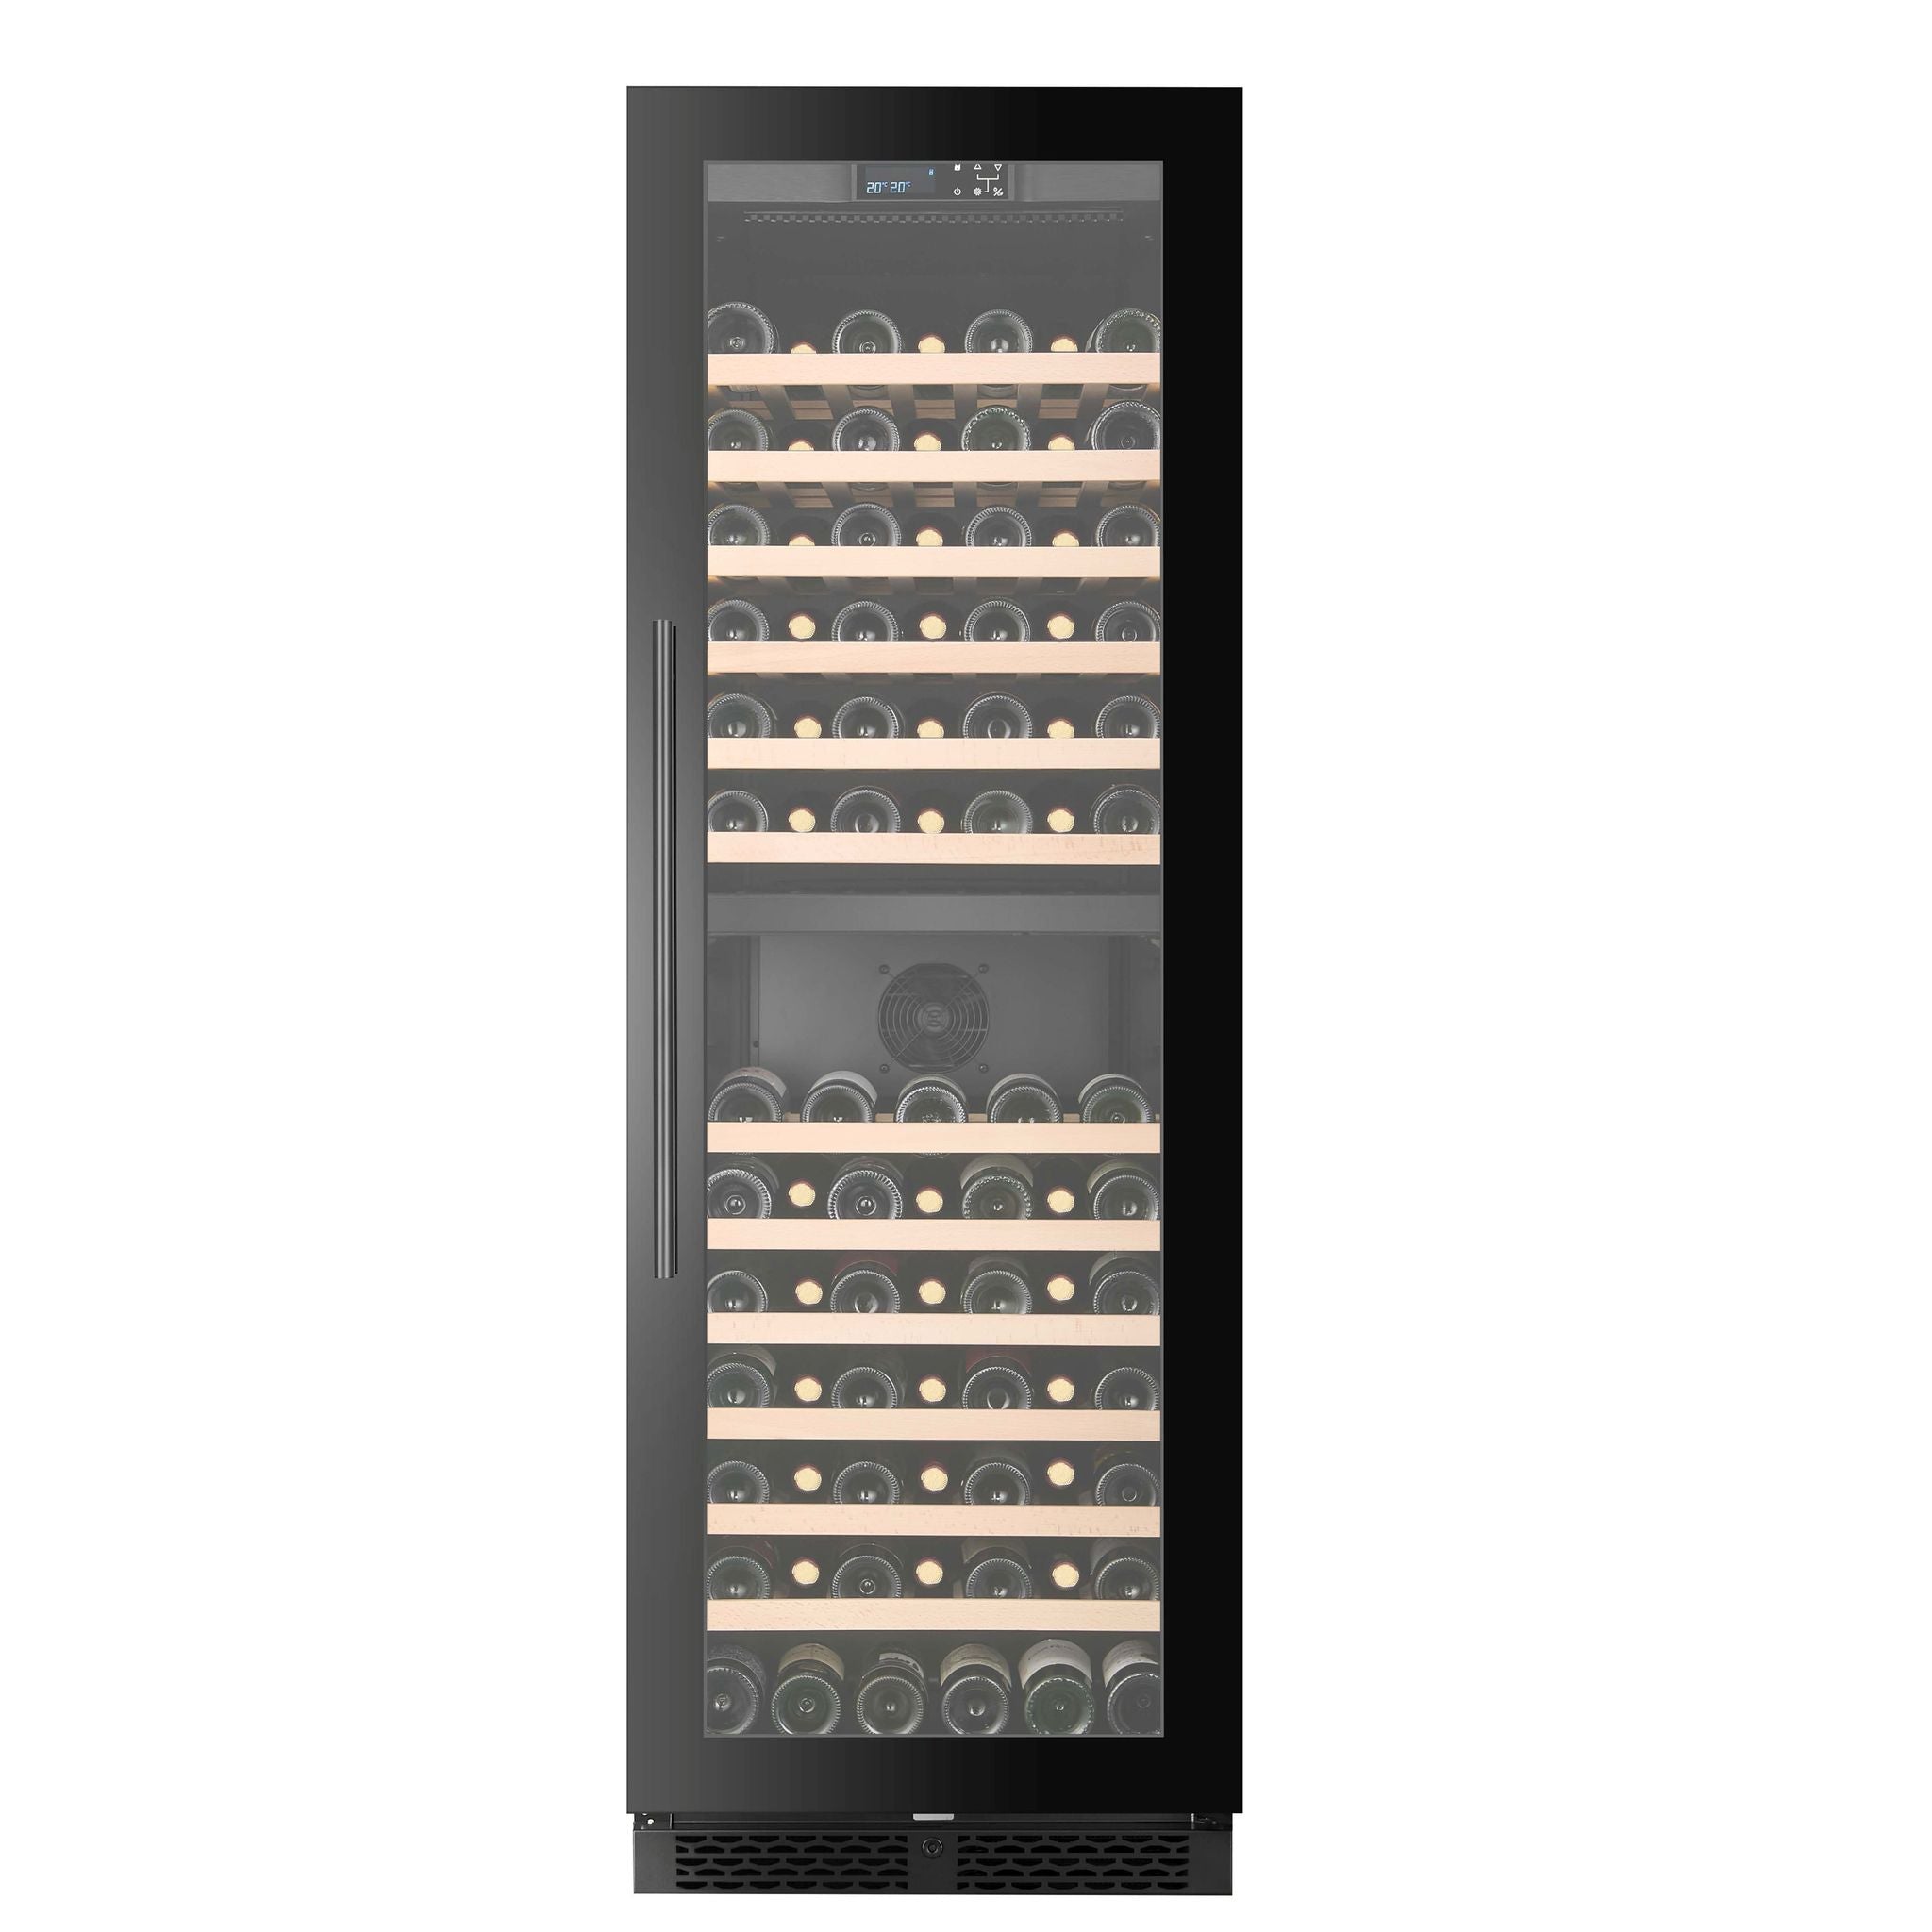
The shelves in wine fridges can vary depending on the make and model. Some have straight wooden shelves, whereas others may have curved wire racks to cradle the bottles.
This can be great for wine bottles, but may not be so great for beer cans or beer bottles. The good news is that many modern wine fridges feature adjustable shelves.
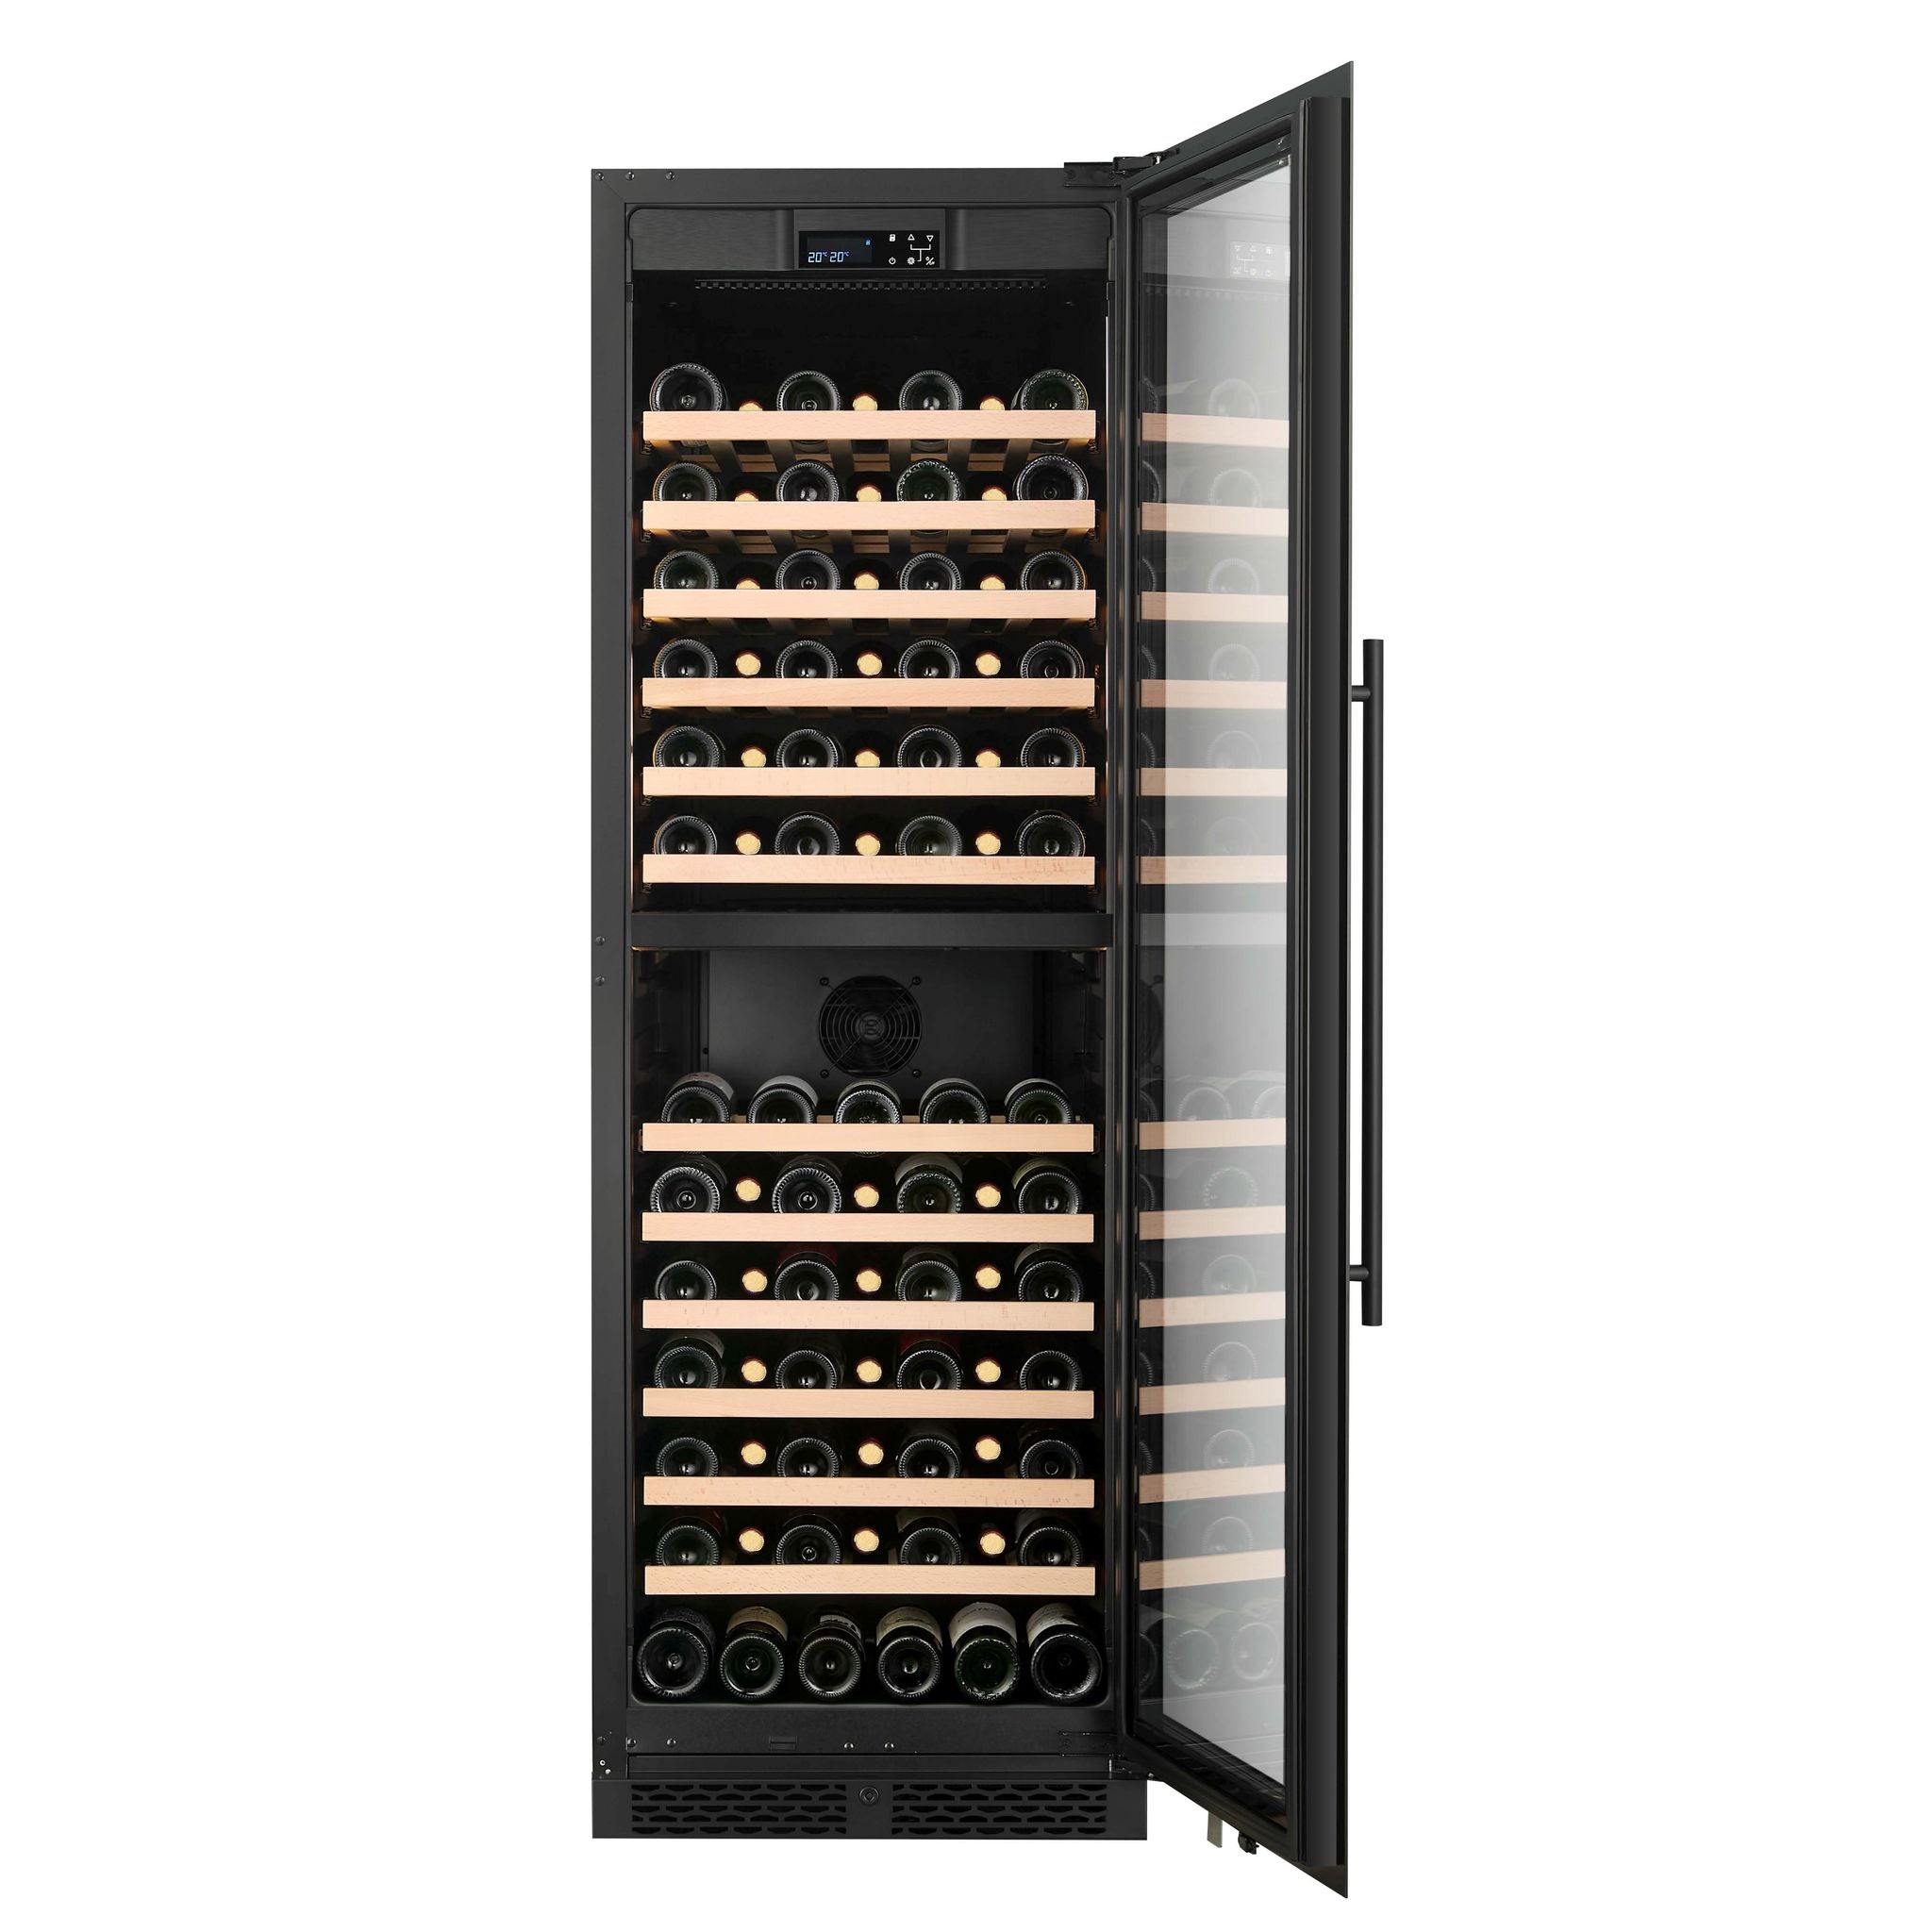
If your wine fridge has curved racks:
Start by removing the curved racks entirely if they lift out easily. If not, see if they can be flipped or replaced with flat wire or glass shelves. This gives you more flexibility for stacking cans or arranging bottles upright.
Tip – If your wine fridge has fixed shelves, you may be able to order compatible flat replacements from the manufacturer.
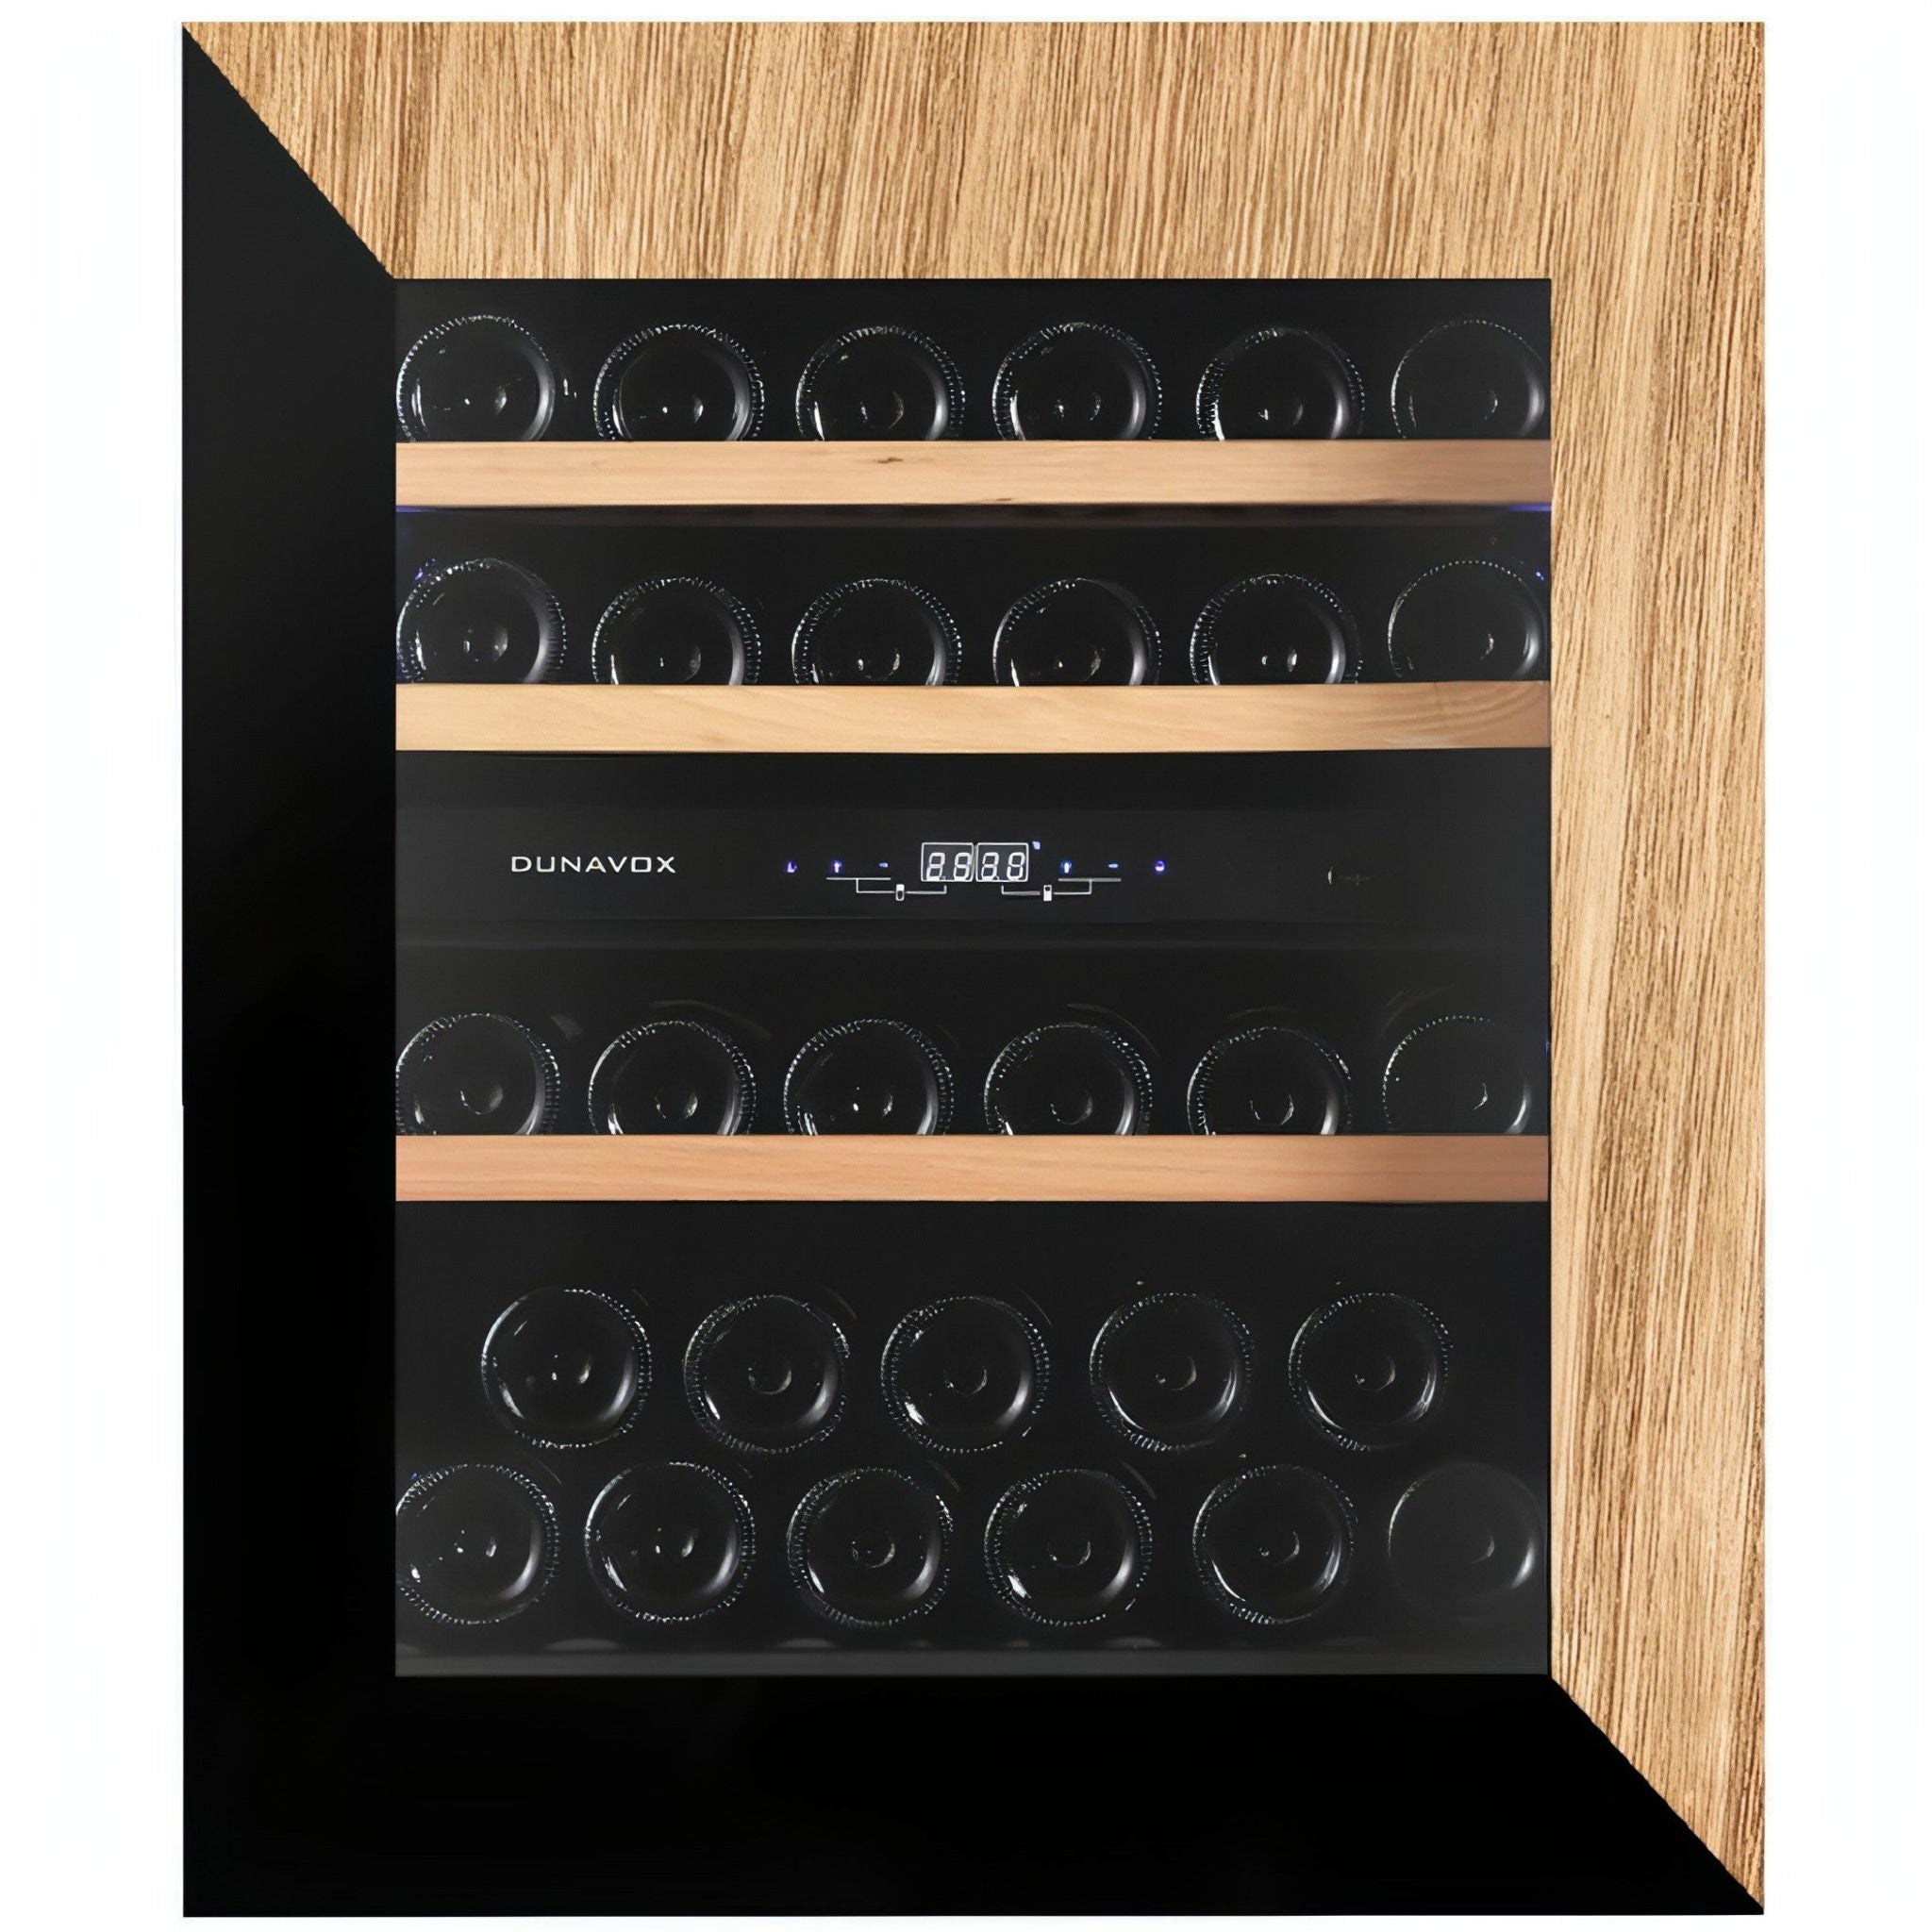
If your wine fridge has flat wire, glass or wooden shelves:

You don’t need to change the shelves! It should be perfect for storing your beer cans or beer bottles.
If your wine fridge has tilted shelves:

Tilted shelves can cause your beer bottles or cans to slide or sit unevenly. In that case, try adjusting the angle (if possible) or replacing them with flat, level shelving for safer and more efficient storage.
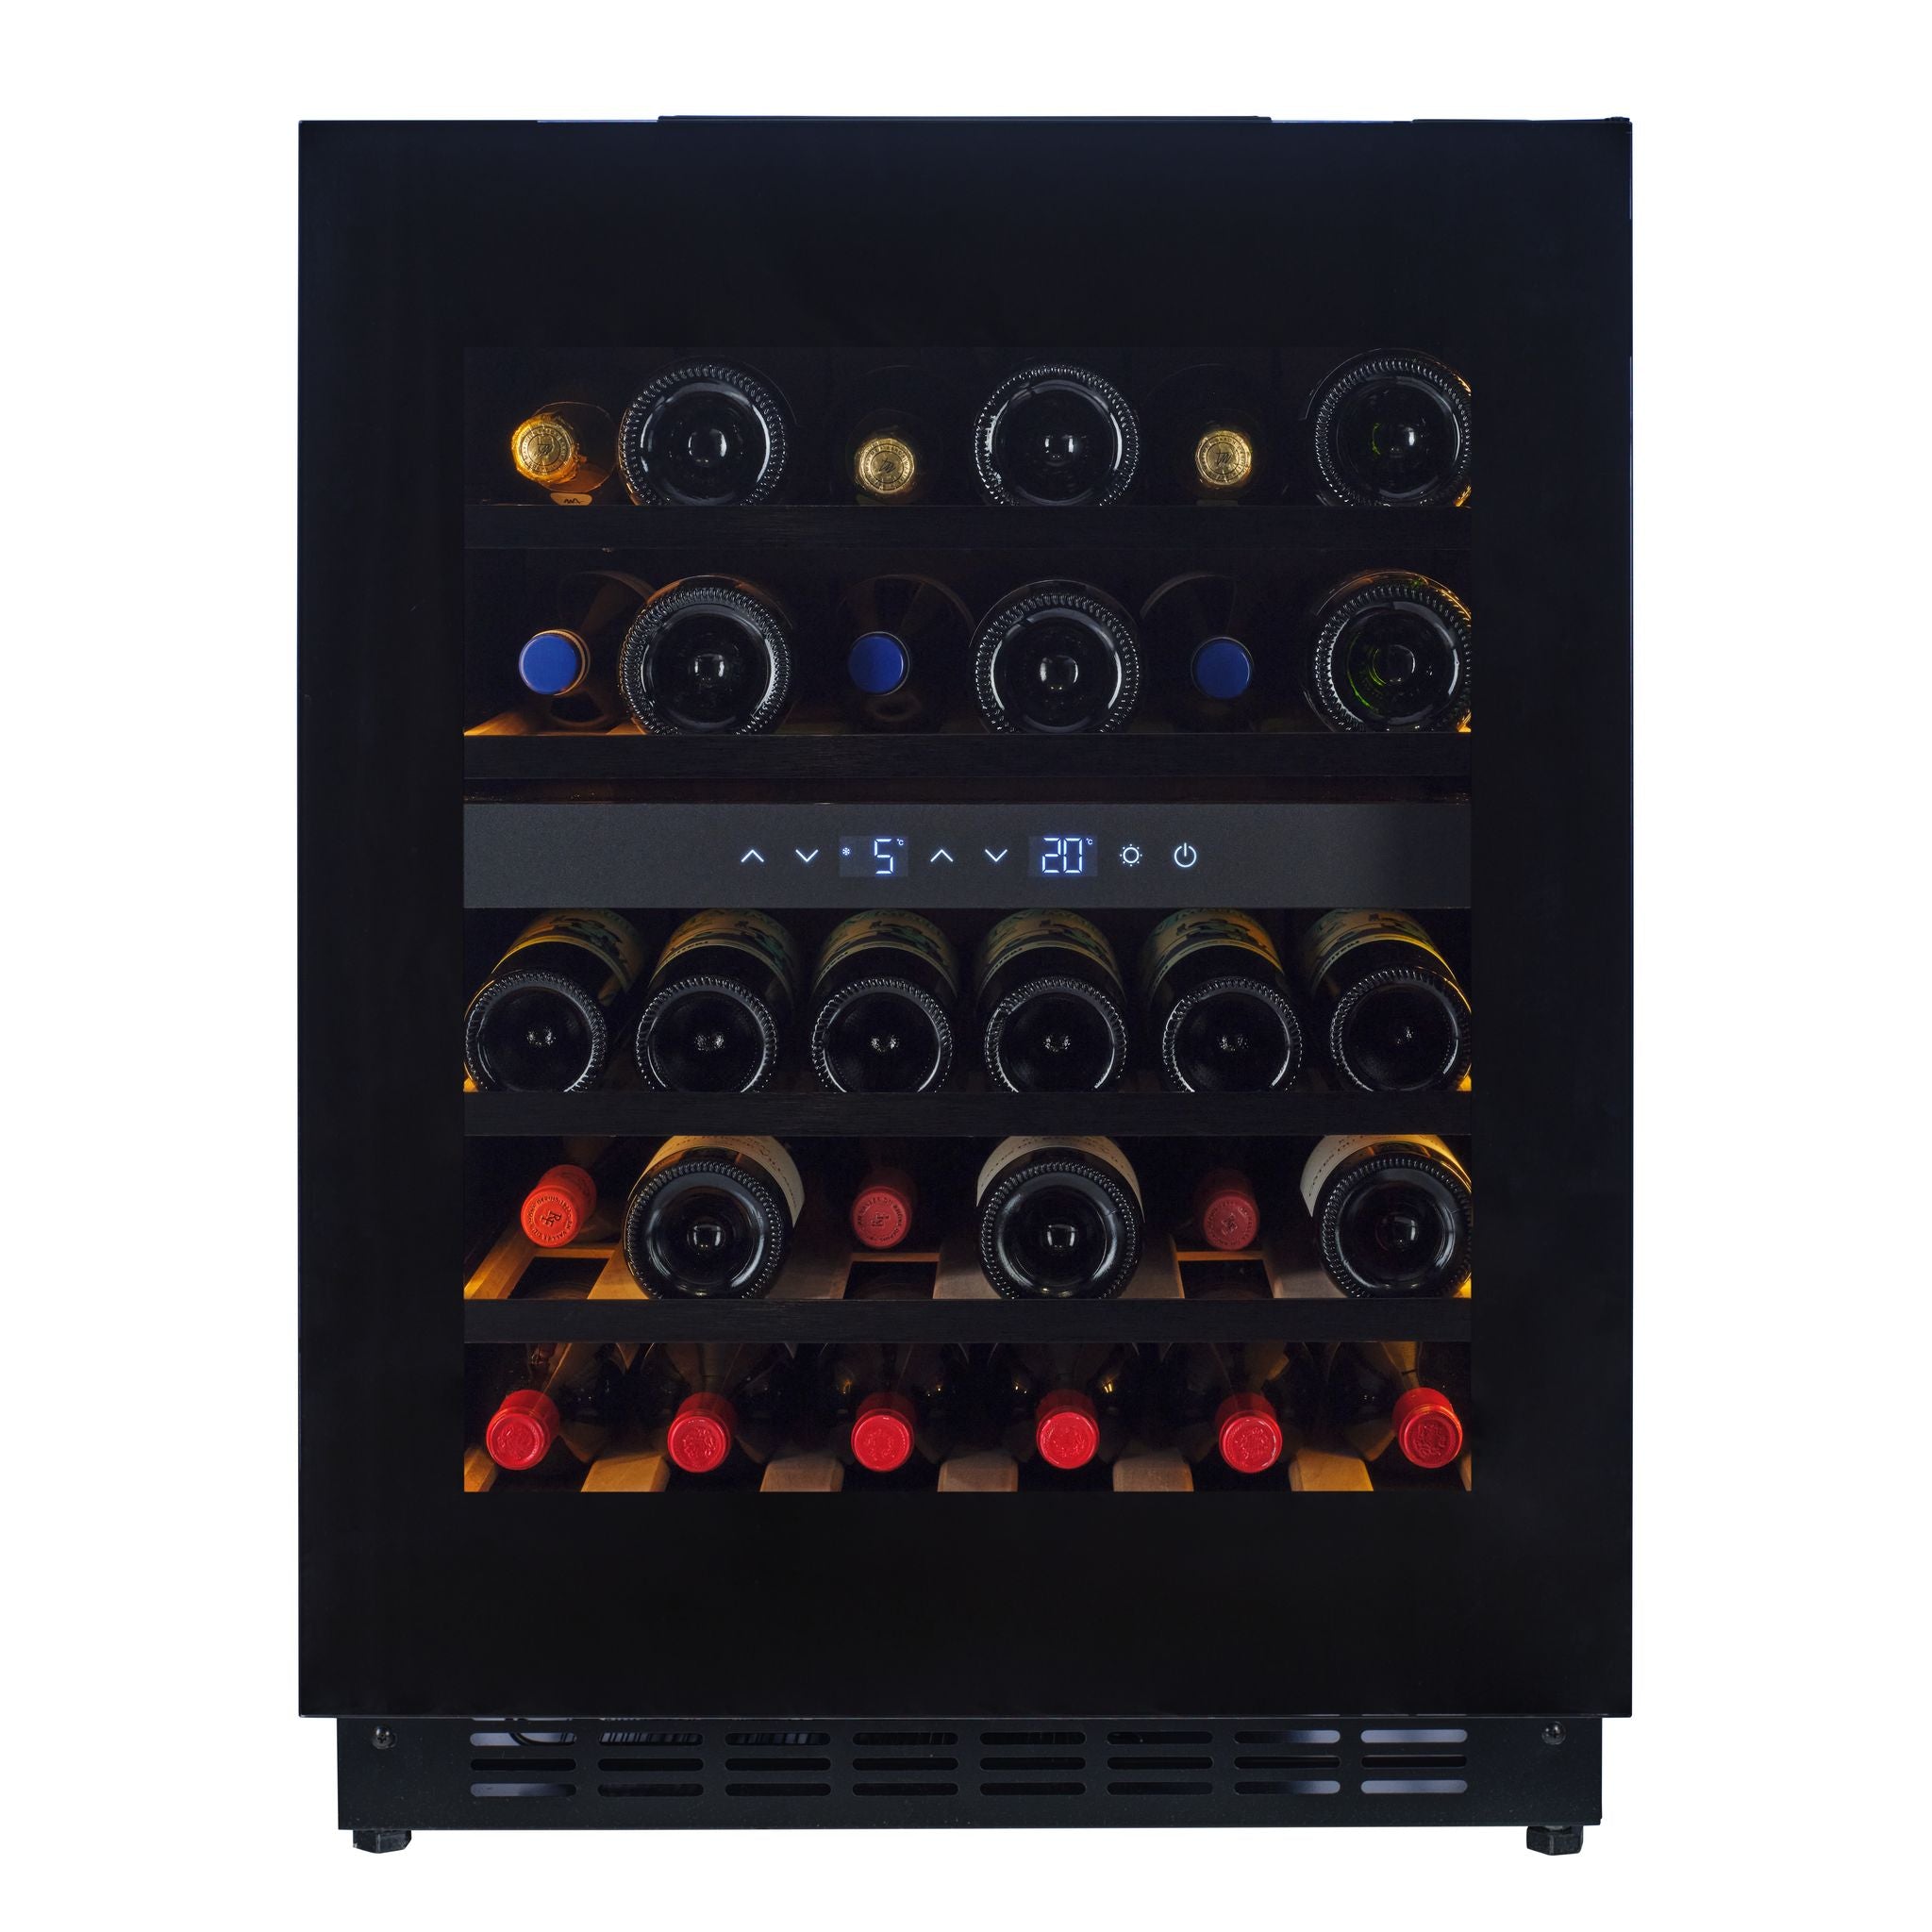
Step 2 – Set the Right Temperature
Now you’ve sorted the shelving, it’s time to adjust the temperature settings.
Beer has different optimal temperatures from wine. Here’s what temperature you should store different beers at:
- Lagers and pilsners: 3–5°C
- Ales and IPAs: 6–8°C
- Stouts and porters: 8–12°C
Check out our helpful guide for more on the best temperature to store and serve beer for different types.
Changing the temperature on your wine fridge is simple. To make your wine fridge colder, simply lower the temperature setting on the control panel and ensure proper ventilation around the unit.
If it’s still not cooling enough, clean the condenser coils, check the door seal, and avoid overloading it. The same applies to making your wine fridge warmer – simply increase the temperature on the control panel and you’re good to go!
Step 3 – Check Airflow and Spacing
Airflow is really important when it comes to beverage storage – good airflow keeps every bottle evenly chilled.
If your wine fridge or beer fridge is too crowded, cool air will not be able to circulate effectively. However, if you leave it too empty, your cooler will have to work harder (and use more electricity) to keep your beers chilled.
For more advice on organisation, see our blog on how to store beer bottles in the fridge.
Step 4 – Optional Upgrades and Accessories
If you want to fully convert your disused wine fridge into a beer fridge, you can stock it with accessories. For example:
- Add glass shelves or mesh trays to stack your beer cans
- Purchase some anti-slip mats to stop your beer bottles rattling
- Install LED lighting to illuminate your beer collection (great if your fridge has a glass door)
Or, to take it a step further, you can organise your beer collection based on type, brand, or preference.
Step 5 – Maintain and Monitor
You’ve done the hard parts – now you just have to keep your fridge in good condition. This may involve:
- Cleaning shelves regularly to prevent odours
- Checking seals and vents for dust or moisture
-
Avoiding constant door opening, which affects the internal temperature
-
Storing your beer upright when possible to reduce carbonation loss
If you’re unsure how long your beers will stay fresh, see our blog on how long beer lasts in the fridge.
And if you’ve accidentally overstocked on warm beer, don’t worry – we’ve covered whether you can put warm beer back in the fridge without affecting flavour!
Can’t I Just Buy a Beer Fridge?
Absolutely! If you want to keep your wine fridge as a wine fridge, that’s absolutely fine. There are other options – the best being a designated beer fridge.
Beer fridges are designed to run colder – usually between 1°C and 7°C. They often have flat, adjustable shelves, which are perfect for beer cans and bottles of all sizes.
There are countless different models available – check out our blog on the top 5 best beer fridges to choose from for some inspiration.
Alternatively, check out our collections of beer fridges from leading brands such as mQuvee, Liebherr, CELLA and more.